This is a step by step tutorial on How To Create a Glowing Silhouette Heart. Actually, you will be able to create any glowing silhouette heart once you learn the basic. I just chose a heart for this lesson because it’s easy.
How To Create a Glowing Silhouette Heart
Step 1: Choose a photo of a heart… or whatever object you want to use for this lesson. Again, I suggest something simple. You can go crazy later when you already know the basic.
Step 2: Open the image on photoshop.
Step 3: Unlock the image by clicking on the image of a padlock beside the layer. Name this layer HEART or whatever name you want to call it. I’ll call it heart.
Step 4: Create another layer, name it BACKGROUND. Put it below the HEART layer.
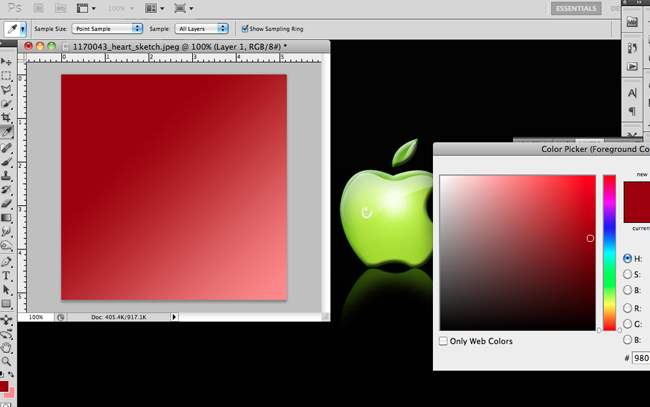
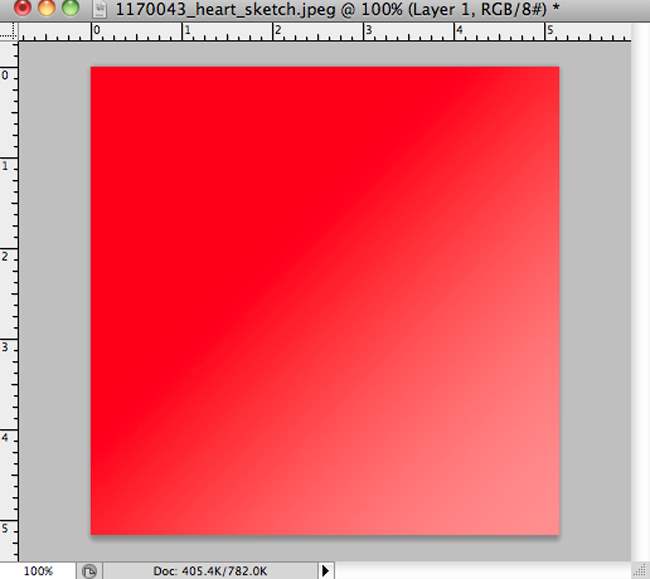
Step 5: Still on the BACKGROUND layer. Apply a gradient. Actually, you can apply any color you want. It will serve as the background. I used red to pink, red as my foreground and pink as my background. See my Settings below:
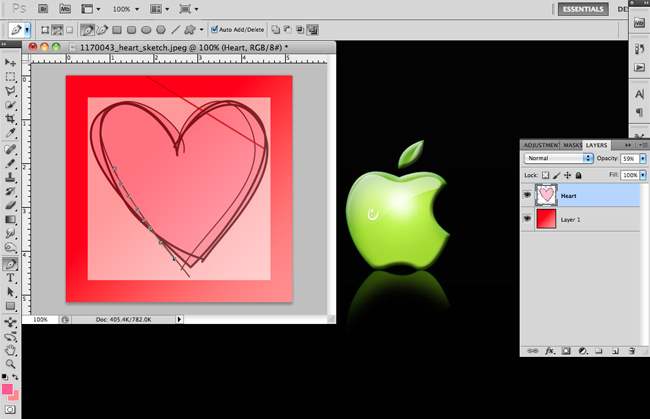
Step 6: Now go back to the HEART layer, lower the opacity. It has to be clear enough for you to trace.
Step 7: Got to FILTER. Click SKETCH. Click WATER PAPER with the following settings:
• Fiber length – 29
• Brightness – 61
• Contrast – 73
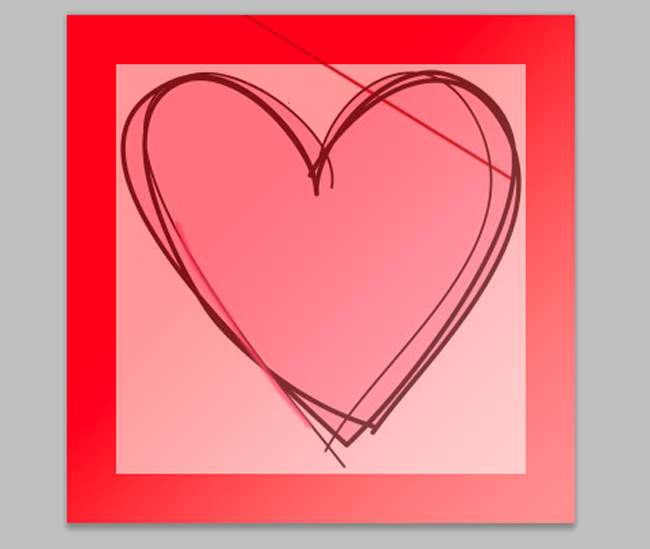
You should have this:
Step 8: Go to the Brush Tool. Use these settings:.
Step 9: Set foreground color to whatever color you want the glow to be. I chose white. You may want silver or a brighter red. Try experimenting with the FOREGROUND color. I started out with pink but for the purposes of this lesson, I chose white so it’s more visible.
Step 10: Create another layer.
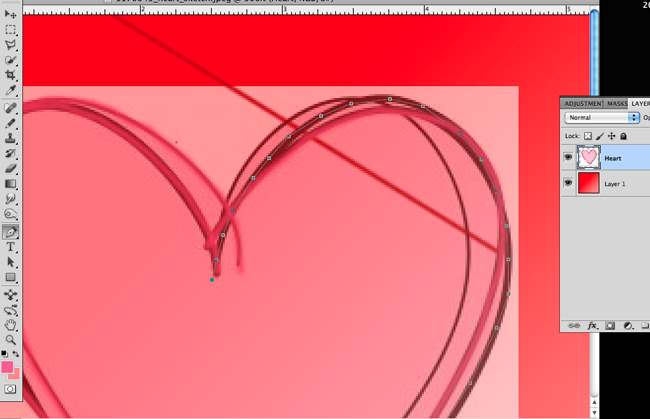
Step 10: Select Pen Tool. Make sure you are working on PATHS and not Shape Layers.
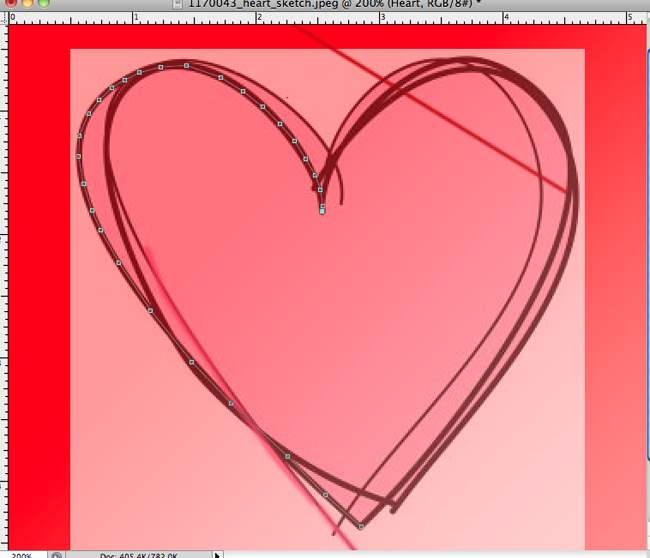
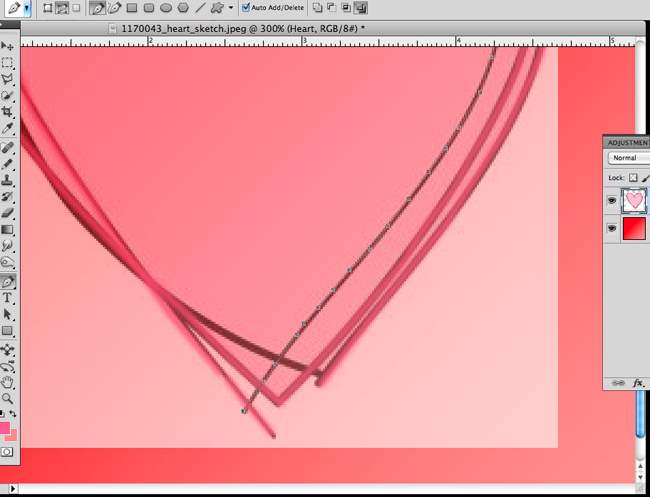
Step 11: Trace your heart. Try one section first.
Note: make your points as fine as possible. Your path is the shape of your heart. It will also be the shape of your glowing silhouette.
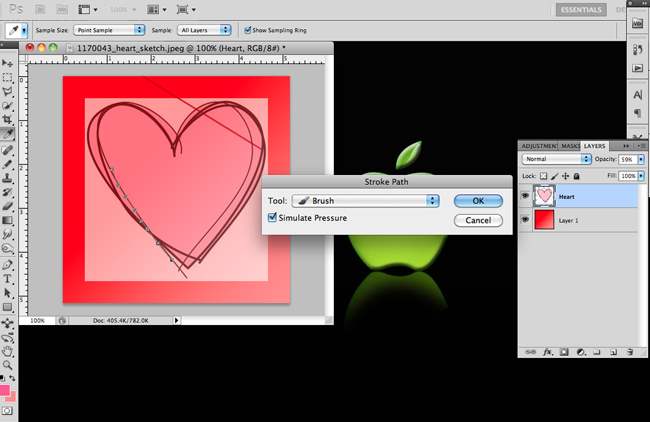
Step 12: Right click and choose STROKE PATH. Choose BRUSH and make sure that the option SIMULATE PRESSURE is checked.
Step 13: Right click again and choose DELET PATH. It should look like this:
Step 14: Trace the rest of the lines. Repeating the whole process until you complete.
[ad name=”bnr-middle-post”]Step 15: Throw or make the HEART layer invisible. We will not be using it anymore.
Step 16: Put a shadow on your glow. Experiment with the settings. See mine below:
Step 17: You should have something like this.
You can experiment with different glows, different background texture, and different objects. The more powerful your laptop or desktop is, the better the effects you can load. I suggest you find good laptop deals online to make your work time faster.

