The Tutorial describe step by step procedure How to Design Hitman in Adobe Illustrator. Hitman is a fictional and unreal character, super powered hitman in the DC Comics Universe. This is a most popular character of cinema screen and also has popularity in game lovers. Today we are going to make a tutorial on illustration of hitman in Adobe Illustrator.
The tutorial was originally post by one of my very close friend on Tutorials Palace. I saw a huge demand of this tutorial and people find it very easy so I thought I should share it with my fans and visitors. Hope you will enjoy this.
For this tutorial you don’t have need any extra skills if you know basics of Adobe Illustrator you will make it easily.
How to Design Hitman in Adobe Illustrator
A short introduction of tools:
As i have told above this tutorial is too easy. You will have to use only 3 tools here to make this.
 Pen Tool Short key (P)
 Convert Anchor Point Tool Short key (Shift+C)
 Direct Selection Tool Short key (A)
Pen Tool use for draw freehand lines and paths, for remove and add anchors.
Convert Anchor Point Tool use to convert the points on a path between corners to smooth points.
Direct Selection Tool use for modify lines with anchors.
Step 1:
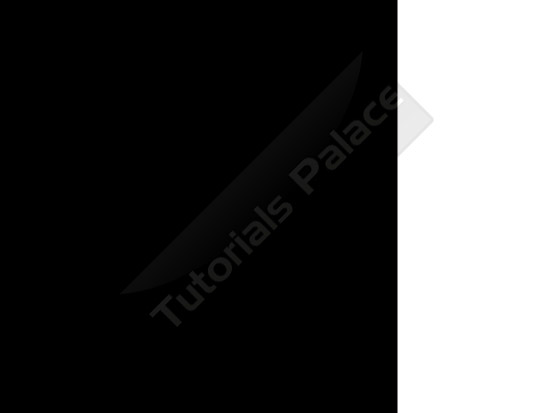
Make new document of 800 * 600 pixels and make 2 color background black and white.
Step 2:
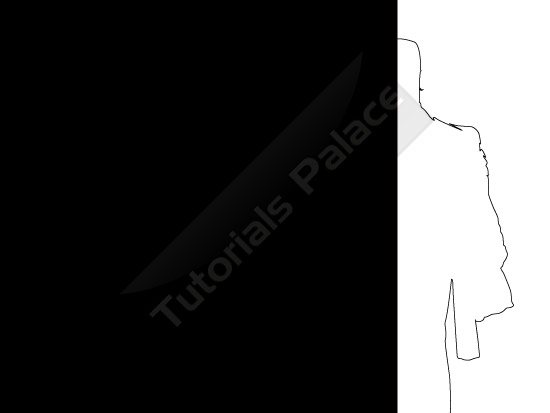
Now select to pen tool and make path same as I have made in below
picture. You can make this path in a very simple way. Using pen tool ![]() draw path step by step, use convert point tool
draw path step by step, use convert point tool ![]() for modify and make smooth anchors and also use direct selection tool
for modify and make smooth anchors and also use direct selection tool ![]()
for make your path perfect.
Step 3:
In this step remove outline color using None button under the fill and stroke color from left side toolbar. and give black color to inside of your path.

Note: Make sure here your path should be closed then you give fill color in your object or path.
Step 4:
Now you have to make a white shape here which will be use for face of
hitman also for his shirt. Same techniques will be use same as Ii have
mentioned above here is no need any extra tool for this.
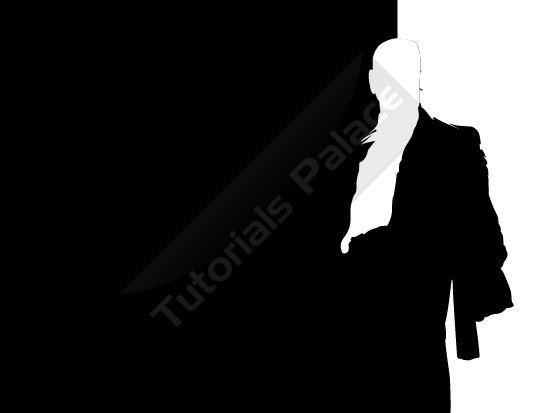
Shape for face and shirt is ready to use. In further steps we will make other small shapes to make it complete.
Step 5:
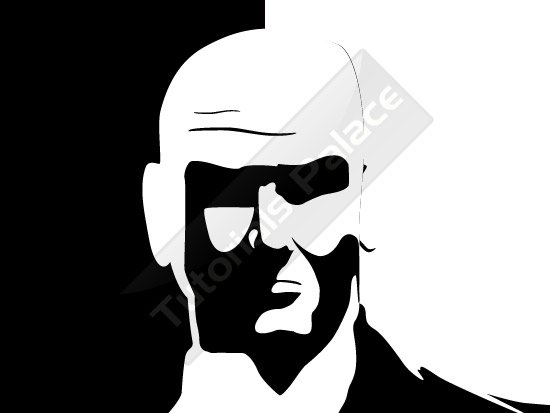
Let’s start work on the face area hitman. Use pen and other tools
same like you have used. This is only one shape but you can use in parts
too.
Step 6:
Dressing is very important to give a natural or real look to your
character. Now dress-up in this step to hitman, make here collar, cuffs
and belt. You can also change its dressing style and make some extras
there.

Step 7:
Make now red color shapes this will make tie and inner shape of coat.

Step 8:
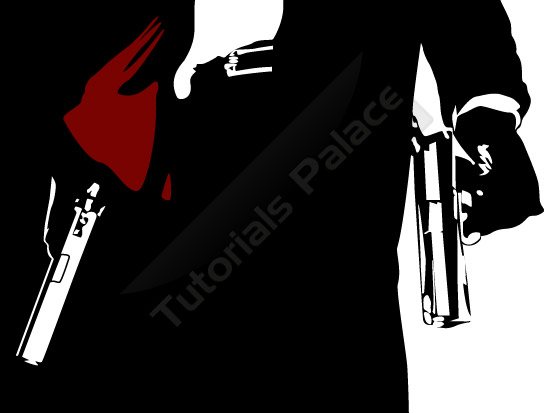
As you know hitman character known as a gun fighter and without guns
hitman will be never complete so in this step make graphics of guns.
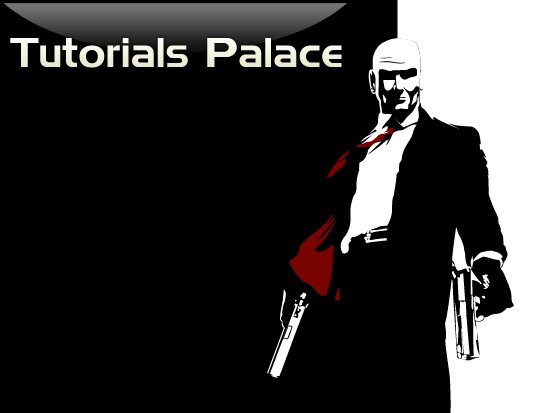
Final Image:
Now you can see here the final image of hitman after completing all steps.
Must give your precious comments on this tutorial.
At the end I would really like to thank Tutorials Palace for giving me the oppertunity to share it with my fans and visitors.


that’s nice – Nice info
Agent 47 and DC Comics’ Hitman are two totally different characters with different designs. You have them mixed up here.
We are LogoProDesign as a Custom Logo Designer, We checked your artwork collections. Those are amazed us. Thanks for that type of good work collections. We regularly checked your website for good artwork example.
Thanks
David Thomas
thnks to share this tutorial.
found your site on del.icio.us today and really liked it.. i bookmarked it and will be back to check it out some more later