Vector Illustration or Retro Vector graphics is the use of geometrical primitives such as points, lines, curves, and shapes or polygon(s), which are all based on mathematical equations, to represent images in computer graphics.
Actually Vector Illustration or Retro Vector formats are complementary to raster graphics, which is the representation of images as an array of pixels, as it is typically used for the representation of photographic images. There are instances when working with vector tools and formats is the best practice, and instances when working with raster tools and formats is the best practice. There are times when both formats come together. An understanding of the advantages and limitations of each technology and the relationship between them is most likely to result in efficient and effective use of tools.
In this tutorial you will learn how to create a retro vector illustration using stock vectors and simple distortion techniques.
STEP 1
Create a 600×600 px document in CMYK color mode.
Grab the Rectangle Tool (M) and draw a shape similar to the one below, then give it an light brown Fill (#C49A6B).

STEP 2
Add a Stroke of 1 or 2 px with a dark brown color (#72491D), open the the Stroke window (Window > Stroke) and set its Align Stroke properties to “Align Stroke Inside”. Now select the Stroke in the Appearance window and click the “Duplicate Selected Item” icon. In the Stroke tab, set Align Stroke to “Align Stroke to outside” and give it a light ochre color (F8D8B0).

STEP 3
Grab the Selection Tool (V) and while holding ALT key, drag the shape, then hold the SHIFT key to position it orthogonally. Then change the fill color to a dark and more desaturated brown (#513D28).

STEP 4
Repeat STEP 3 three times, but set the Fill colors to #9E8A71, # F3BC77 and # BE792A. Now using the Selection Tool (V), select all the shapes and click the “Vertical Distribute Center” icon on the top toolbar.
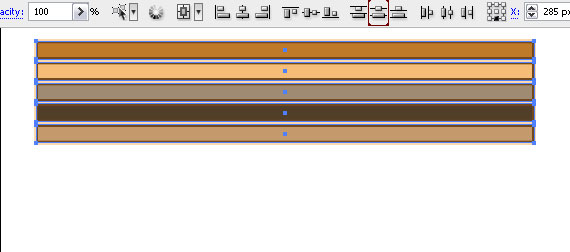
STEP 5
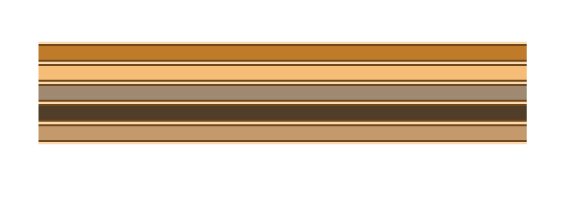
Select all artwork and go to Object > Expand Appearance and Object > Path > Clean up… to expand the strokes and clear the unnecessary anchorpoints. Grab the Eraser Tool (SHIFT+E) and clear the right and left ends. Be sure to hold the ALT key to make a rectangular erasure, so you can obtain a clean cut. It should look like below.
STEP 6
Select all artwork and drag it into the Brushes window (Window > Brushes) and set it to Art Brush. This will create a brush of what we’ve done so far. Duplicate the artwork and rotate it by 180 degrees, then drag this one too in the Brushes window with the same setting. This will give you two nice strokes we’ll be using later on.

[ad name=”bnr-middle-post”]
STEP 7
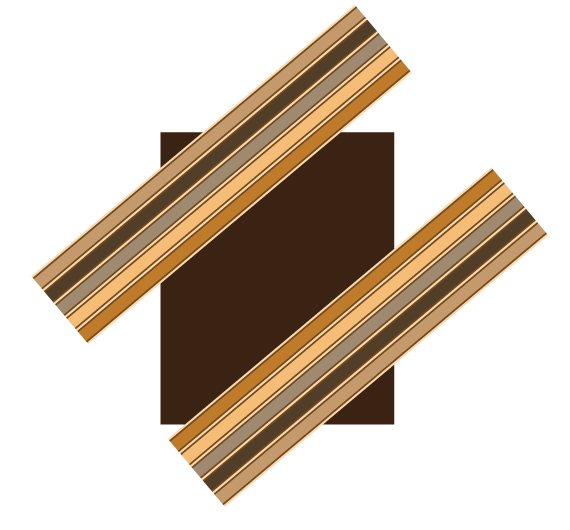
Grab the Rectangle Tool (M) and draw a rectangle with Height greater than Width. I made it about 700 x 900 px. Fill it with a dark brown color (#3C2415). Now grab the Line Segment Tool () and click on the canvas. Set Length to about 1000 px and Angle to 40 degrees, then click on the first brush we created it. Duplicate it and place the second line on the opposite side. Select both, then go to Object > Expand Appearance and Object > Path > Clean up. Resize them to look like below.
STEP 8
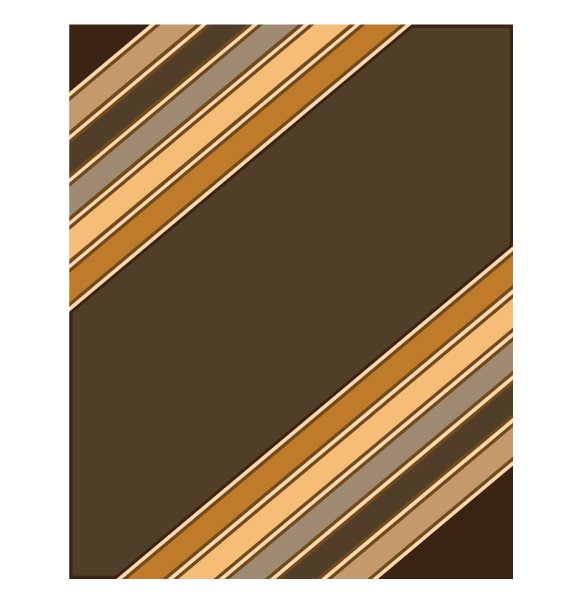
Select the rectangle from STEP 7. Copy it (CTRL+C), then paste it to front (CTRL+F). Now right-click > Arrange > Bring to front (CTRL+SHIFT+]) and remove its Fill. Select all artwork, then right-click > Make Clipping Mask. Then go to Pathfinder window (Window > Pathfinder) and click the “Merge” button. Enter the group (double-click on it using Selection Tool (V) and change the Fill color to a lighter brown (#513D28). Also add a nice stroke like in STEP 2. Then exit the group. It should look like below.
STEP 9
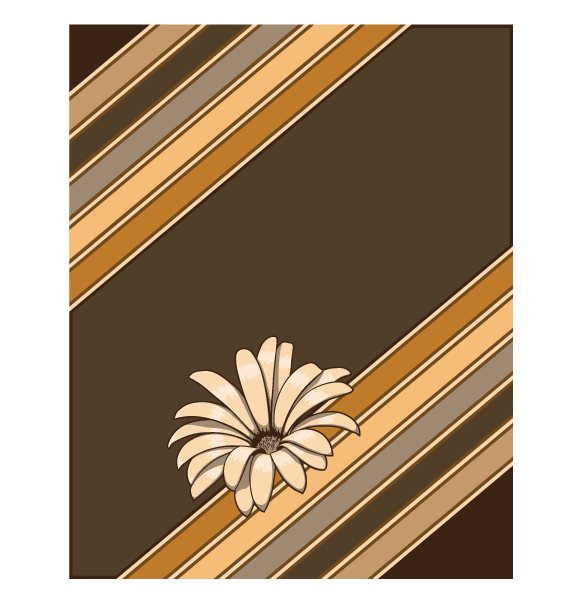
Open the Floral Vector Pack 71 and pick a flower of your choice. Copy it (CTRL+C) and paste it over our drawing and resize it as you see fit. Grab the Magic Wand tool (Y), press Enter and set Tolerance value to “0″. Now click the contour of the flower and set its Fill to # 3C2415. Using the same technique, reassign the colors of the shadow (#9E8A71), base color(#F8D8B0) and light (FFE8D4).
STEP 10
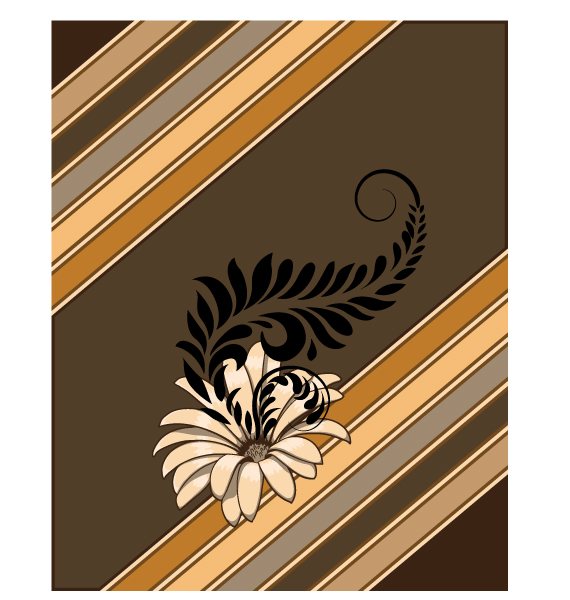
Open the Floral Vector Pack 73, pick an element of your choice and paste it in our drawing. Resize it as you please and place it like below.
STEP 11
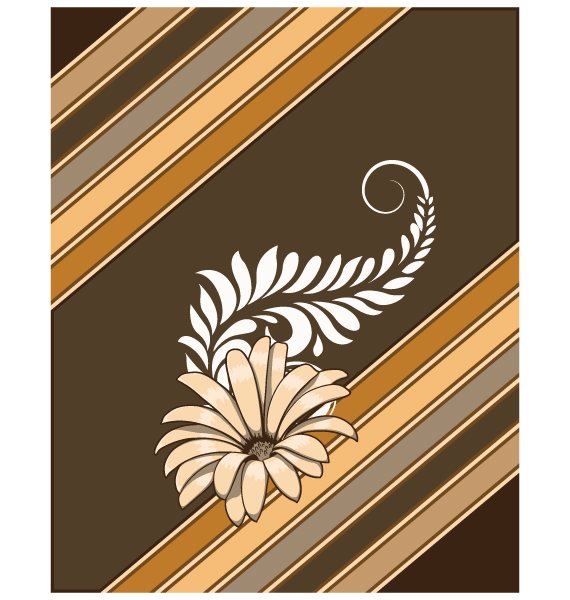
Press CTRL+[ to send it behind the flower and give it a nice light color (#FBF8F5).
STEP 12
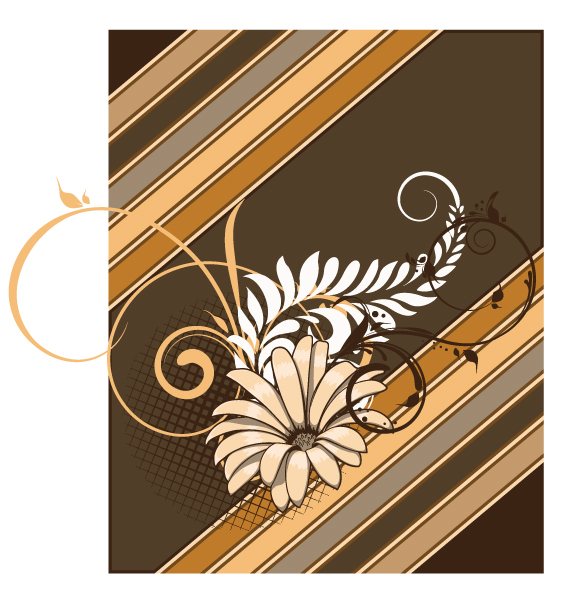
Open the Floral Vector Pack, select an element and place it in our drawing. Resize it and rotate it as you see fit or like below, then give it a light ochre Fill (#F3BC77). Press CTRL+[ twice to send it behind both previous flowers.

STEP 13
Using the same technique, add another flower (#3C2415 Fill), a halftone (#3C2415 Fill) and some splashes (#28180F Fill). Play around with them till you are satisfied with the results.
STEP 14
Open the Grunges Vector Pack and copy three elements. Paste them in our drawing, then assign them colors: # EFE2D1, # D1C2C2 and # DCB78F. Now overlap them, play around with them a bit till you obtain a chaotic color mix. Then place it over our drawing and set its Transparency to Multiply.

STEP 15
Grab the Eraser Tool (E), hold ALT key and erase the unwanted parts. And you’re done!

Now that you already have the brushes, you can play around with more shapes, add strokes to circles, rounded paths and more. Simply take this idea further on and create more awesome work. Here’s another example of what you can do with the same brush.

If you create anything based on this tutorial, please show us your outcome!

beautiful retro vector graphic tutorial.
Thank you very much for sharing this. I have subscribed to your RSS feed. Please keep up the good work.