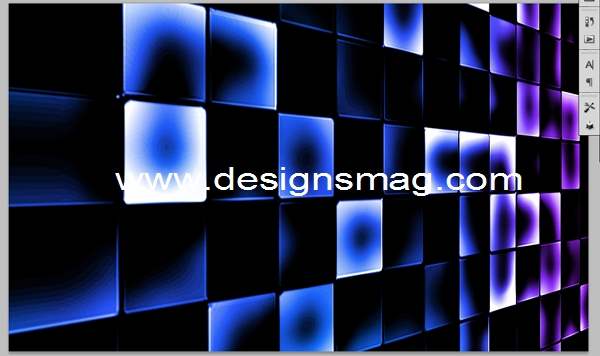
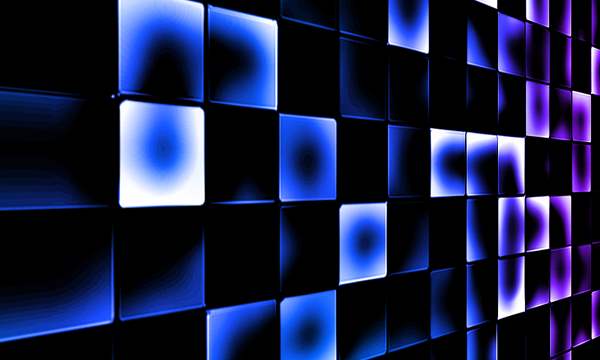
This tutorial is here to teach you how to create an image that has the effect of a lighted mosaic wall perhaps in a club or bar. Like many other tutorials, this one will teach you the basics. Once you know the basics, you will be able to use the same principle in creating mosaics with different shapes and different colors.
How to Create a Lighted Mosaic Wall
Step 1: Create a new document that’s big enough for you to work on. I usually settle for a horizontal orientation of the short coupon bond. But you can go bigger if you want. Just make sure that the squares you will be producing is big enough for you to work on. Pour a black paint, all zeroes. Label it BACKGROUND.
Step 2: Click WINDOW. Click ACTIONS. Click NEW ACTION. Start recording.
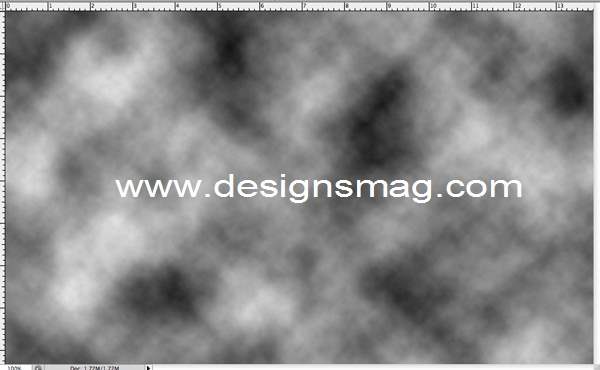
Step 3: Create a new layer. Click FILTER. Click RENDER. Click CLOUDS. Click LAYER MODE. Click SCREEN.
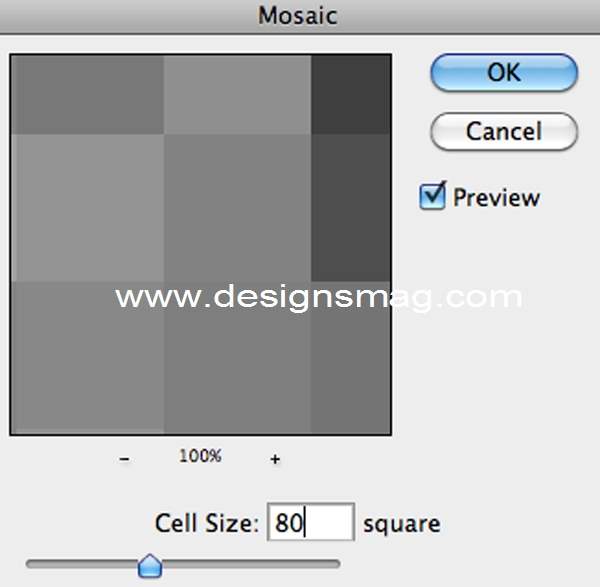
Step 4: Click FILTER. Click PIXELATE. Click MOSAIC. Cell Size should be 80 square.
[ad name=”bnr-middle-post”]Step 5: Click FILTER. Click SKETCH. Set the FOREGROUND LEVEL to 50
Step 6: Click STOP RECORDING.
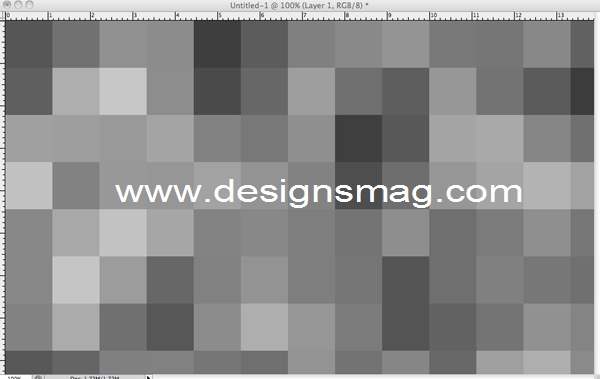
Step 7: Repeat the action about eight times to take out all the black areas. You should get this:
Step 8: Merge all layers except the Background layer.
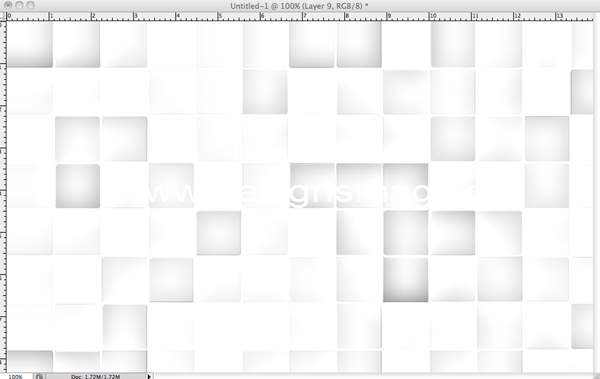
Step 9: On the Mosaic layer, click FILTER. Click SKETCH. Click PHOTOCOPY. Detail should be no more than 24 and Darkness should be no more than 1.
Step 10: Invert the color of the layer.
Step 11: Click IMAGE. Click AUTO CONTRAST.
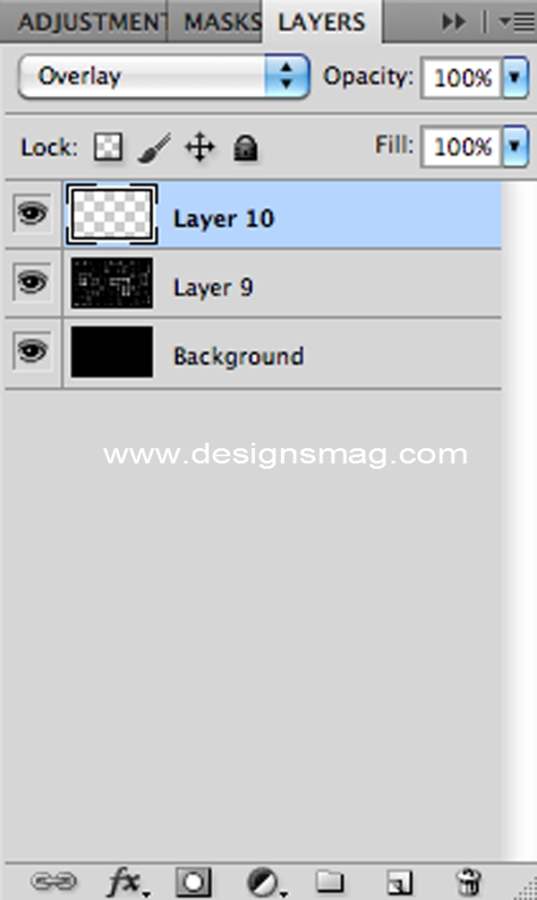
Step 12: Create a new layer and click LAYER MODE. Click OVERLAY
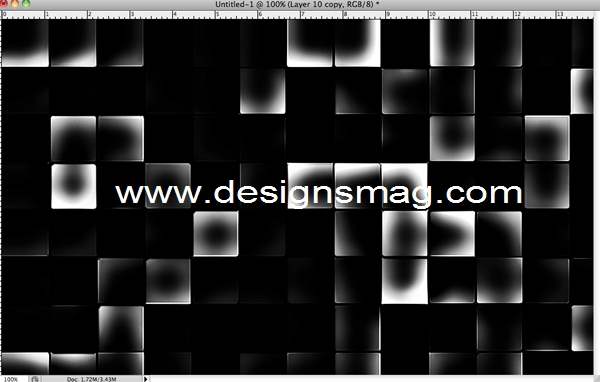
Step 13: Click BRUSH TOOL and choose a round brush tool with soft edges. It should be just big enough to occupy the edges of the dark squares.
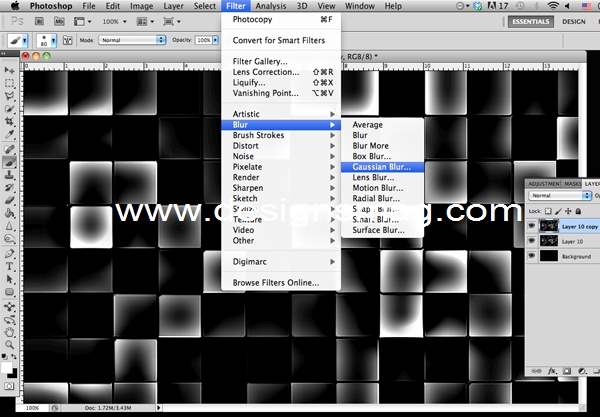
Step 14: Duplicate the layer. Click FILTER. Click BLUR. Click GAUSSIAN BLUR.
Step 15: Click LAYER MODE. Click OVERLAY.
Step 16: Merge all layers except the BACKGROUND LAYER.
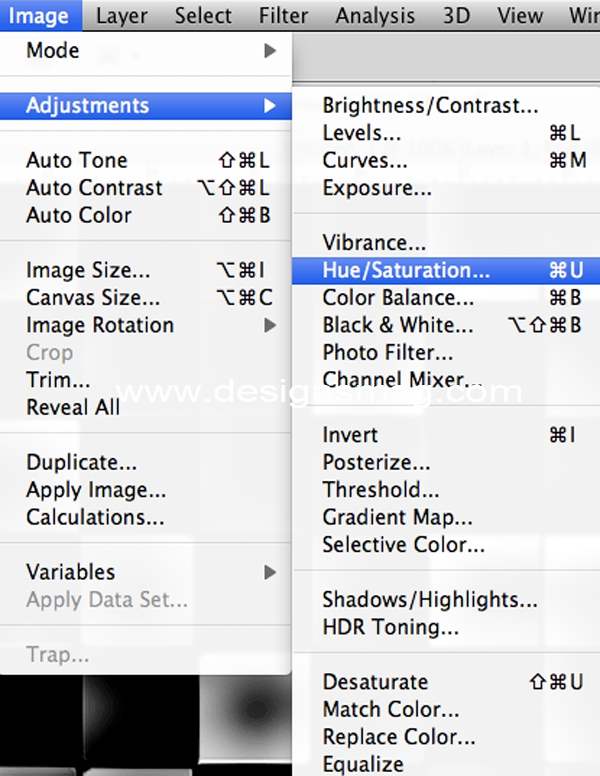
Step 17: Click IMAGE. Click ADJUSTMENTS. Click HUE/SATURATION. Experiment with the settings but I used:
- Hue should be 216
- Saturation should be 100
- Lightness should be 0
- Tick Colorize
Step 18: Click EDIT. Click TRANSFORM and drag the two end points of the side on your right so that it will look smaller. See below.
You should have something similar to this.
Step 19: You can add more color if you want. Just create a new layer. Click LAYER MODE. Click OVERLAY. Manipulate the foreground and background. Essentially, you just need to repeat steps 12 to 15.
If you want to print this out, make sure you use a glossy paper. It can be used for different purposes like backgrounds, covers, and even for art pieces. However, I suggest you use a nice quality printer. All in one laser printer might do the job. Search for dell coupons online to get a good deal.
If you like this post, share it with your friends through email and social networks. Please don’t forget to  subscribe to our RSS-feed,
  follow us on Twitter and like our
 ![]() facebook Fan page for recent updates.
facebook Fan page for recent updates.


