In this Photoshop tutorial I will be walking you through the making of an interesting art piece of How To Make an Eerie Eye in Photoshop, What I will be teaching you is the basic. From here, you can experiment and create different effects.
The end product is highly graphic and would look good on high definitions monitor. You can attach your computer to a HD TV just to get a more accurate look. Search for TV deals online to get the best monitors for the best value.
In this tutorial we will use the burn tool, dodge tool, brushes, layer modes and more to add an interesting effect to an otherwise regular stock photo.
Step 1. Open your stock photo of the eye and duplicate the background to make it an active layer. You can do that by clicking on the lock sign. That would allow you to create another layer. Make the new layer the background.
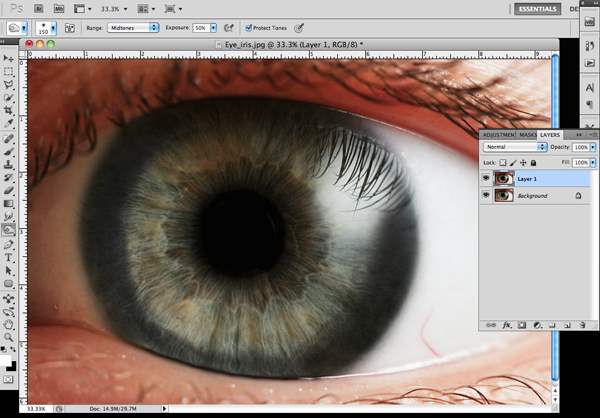
Step 2: Select the Burn Tool (Range: Midtones, Size: 150px, Opacity: 25) and use it to darken the area around the eye and the pupil. Zoom in to be able to burn it carefully.
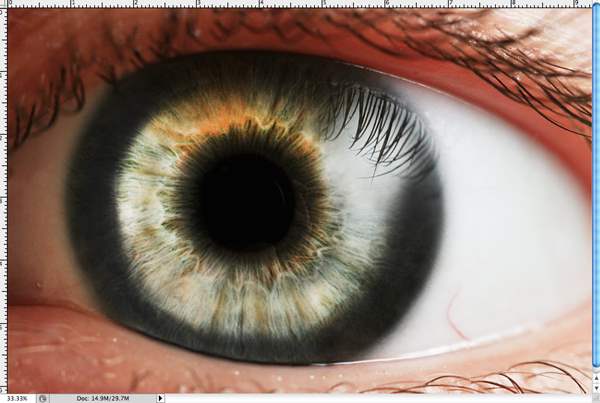
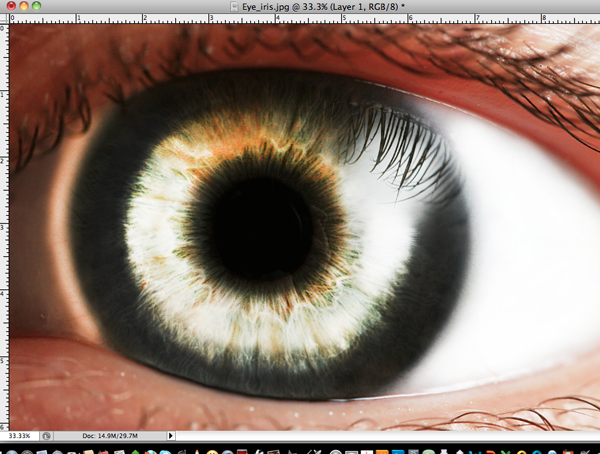
Step 3: Use the Dodge tool with the same range after to lighten up the iris. Use discretion on how light you want it to be. I want mine really light because it makes it look more eerie.
Step 4. Still using the doge tool, create rays on the other portion of the Iris. Make sure you also make the other portions less bright. Use your discretion on what to lighten up.
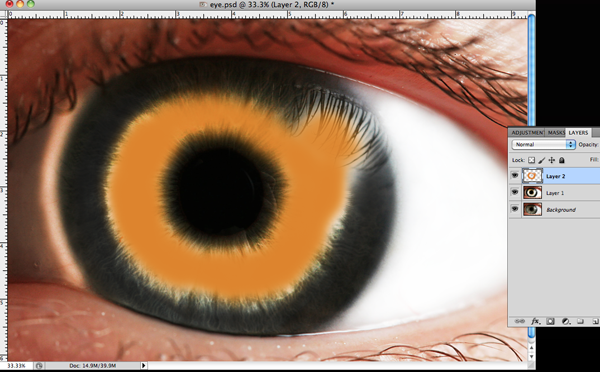
Step 5. To change the color of the eye, we need to make a new layer, select a soft brush with your desired color then use it to brush over the iris. You can, of course, choose another color. You can make it red, blue, purple, or combine all the colors. Be as playful as you want.
Step 6: Change the blending option of the layer to Color and set the opacity to 50 in order to achieve that fiery effect.
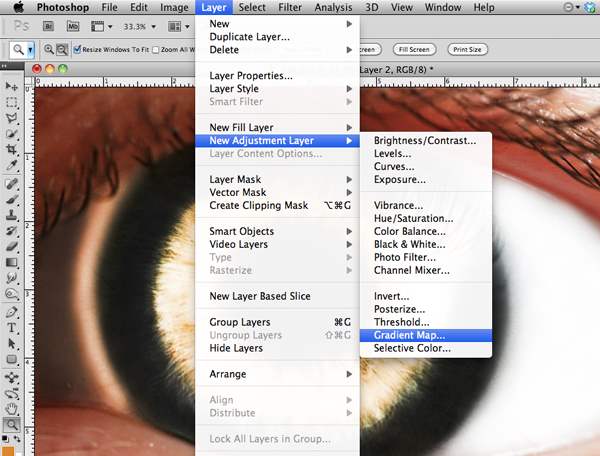
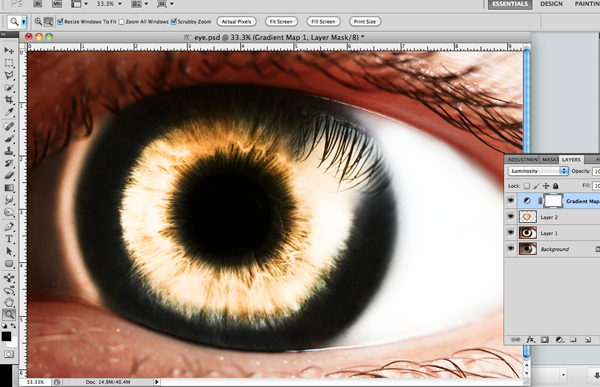
Step 7: Create a new black and white Gradient Map then set the layer blending option to Luminosity without lowering the opacity to add more ‘feel’ to the eye. Repeat process or duplicate layer to further darken the burnt areas if needed.
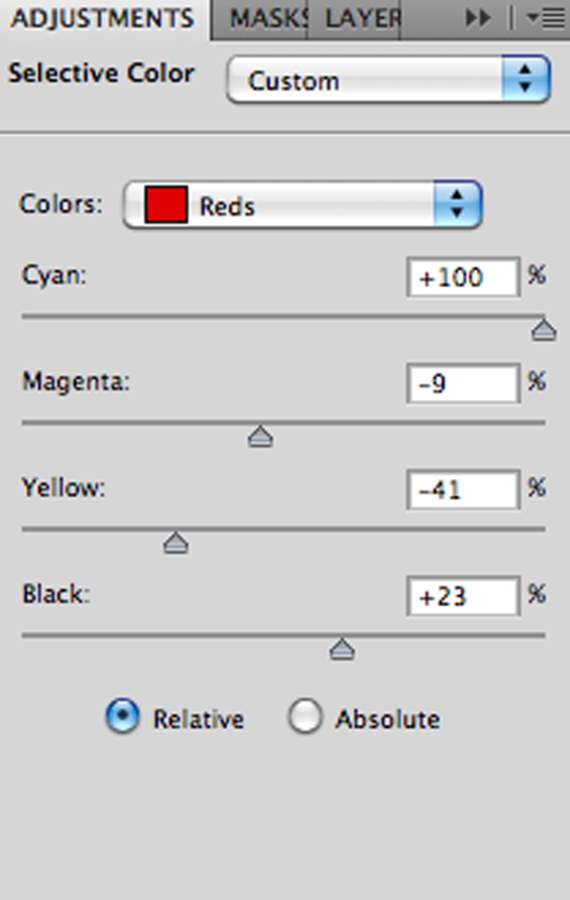
Step 8: Lastly, we need to add a selective coloring adjustment layer with the following settings. You can also play around with it and adjust the settings according to your own standards.
[ad name=”bnr-middle-post”]Step 9: You can also further darken/lighten up areas in your photo by using the burn and dodge tool until you’re satisfied to end up with your final image.
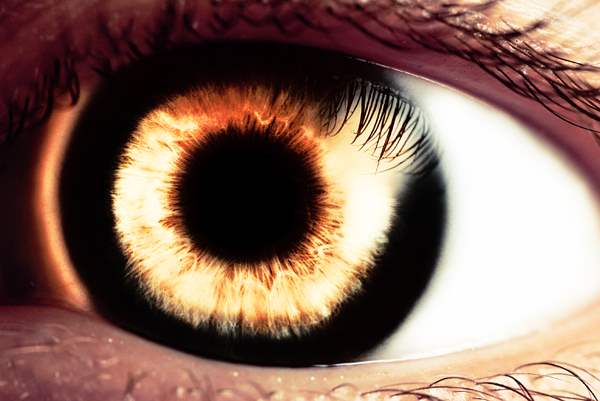
Finally, you should now have something like this.
The end product is highly graphic and would look good on high definitions monitor. You can attach your computer to a HD TV just to get a more accurate look. Search for TV deals online to get the best monitors for the best value.







Nice effort
Nicely done Naaz